
In this post we will go over how to use a raspberry pi to self host a WireGuard vpn. This will allow you to have secure access to your home network. This can be useful for a lot of reasons including security, and selfhosting.
We will be using the convenient PiVPN script in order to automate the majority of the installation, however their are a few things we will want to set up before hand.
What you will need
- A Raspberry Pi 3, or later.
- A micro SD card with Raspberry Pi OS Lite.
- An Ethernet connection.(This isn't strictly required, but highly recommended)
Setting up the Pi
We will enable ssh, update, and secure the pi.
After flashing RPI OS onto your micro sd card, you should see a boot partition on the SD card. You need to create a blank file called ssh inside that boot partition. Ensure that the file doesn't have a file extensions and that you have file extension visibility enabled. You can then insert the micro sd card and plug the pi into power. After a couple minutes you can use either Powershell on Windows, or your terminal of choice on Linux/Mac to connect to the pi with pi@[your-pis-ip]. Replacing [your-pis-ip] with the ip address of your Raspberry Pi(This can be found by connecting to your router). While we are in our routers admin panel we can go ahead and port forward port 5182(Which is the default wireguard port) the instructions will differ for your router. We are then going to want to update the pi by running the following in our ssh window.
sudo apt update && sudo apt upgrade -y
Then change the current users password, please choose a good password, something long with letters(both uppercase and lowercase), numbers, and preferably a special character.
passwd
After setting up a password we can either skip to the installation of the vpn software, or set up DDNS for convenience.
Setting up Dynamic DNS
The main reason we would want DDNS is to that we don't have to constantly update our VPN clients when our public ip address changes. Firstly we are going to need a domain. Their are a lot of websites that allow you to register free domains, or reserve subdomains. I will be using https://freedns.afraid.org. I like freedns as they don't put a lot of the restrictions that other providers do. You will need to create an account with them however. We will be reserving a subdomain.

Go to the subdomain page and click "add a subdomain". Make sure that it is type A, type anything you want into the subdomain space, in this example I will be using pastel-vpn, choose any domain you want, I'll be choosing ignorelist.com, and set your destination to 0.0.0.0 than hit save. Our full domain will be your subdomain dot the domain you chose. So for me this is pastel-vpn.ignorelist.com.
We will now be going back to our ssh window. We are going to need to install and configure a ddns client to update our new domain. The one we will be using is called ddclient, it's simple, fast and lightweight so perfect our needs.
sudo apt install ddclient
Go ahead and just spam enter through the tui configurator. We will be configuring ddclient through the config file.
sudo nano /etc/ddclient.conf
You can go ahead and replace everything in there with
daemon=5m
timeout=10
syslog=no # log update msgs to syslog
#mail=root # mail all msgs to root
#mail-failure=root # mail failed update msgs to root
pid=/var/run/ddclient.pid # record PID in file.
ssl=yes # use ssl-support. Works with
use=if, if=eth0
server=freedns.afraid.org
protocol=freedns
login=login_name
password=the_password
somedomain.mooo.com
There are a few things we need to change, first off, we need replace somedomain.mooo.com with the full domain we reserved before. So in my case this would be pastel-vpn.ignorelist.com. Also replace the login and password fields with your freedns login info. Use your userid for login not your email. Next run the command
sudo nano /etc/default/ddclient
and change run_daemon from false to true, then run
sudo systemctl restart ddclient
We can then go back to https://freedns.afraid.org and check our subdomain, you should see that the ip has changed. This means everything is working fine and we can move on too the next step installing and setting up the VPN Server itself.
Setting up PiVPN
There are a few ways that the PiVPN script can be installed. The first and most simple way being to run this command.
curl -L https://install.pivpn.io | bash
However, piping to bash is a highly controversial practice. As it doesn't allow the user to review the code that is about to run on their computer. If you both trust that I'm not phishing you, as well as trust install.pivpn.io to provide legitimate software, then you can go ahead and do that. Otherwise you can review the code here. Or download the script like this
git clone https://github.com/pivpn/pivpn.git
And review it yourself before running this
bash pivpn/auto_install/install.sh
Anyway now that we have begun the installation process we should see a screen like this.
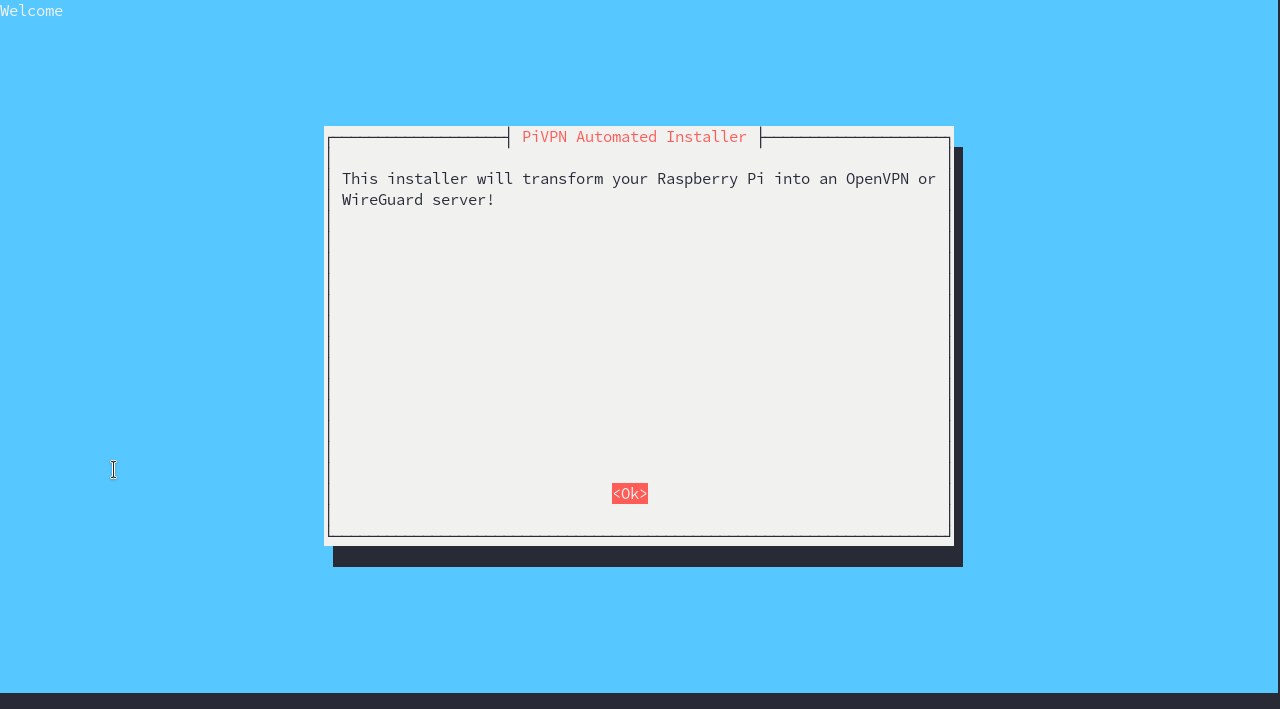
We can hit enter to progress through the installer, use the arrow keys to navigate options, and the spacebar to select choices. When choosing an interface be sure to select eth0 if on ethernet, or your WiFi if not(It might not prompt you for this at all). When it asks you if you want to use DHCP reservation or a static ip address choose a static ip address(Which will be the "no" option). It will ask you to choose a local user, any user is fine, and there will only be the pi user unless you have added one.
It will then ask us which type of VPN we would like to install.

Go ahead and choose the WireGuard option, and hit enter. Choose any dns provider you prefer, I will be choosing CloudFlare. On the next screen when it asks if you want to use an ip or DNS entry, if you did the DDNS section then choose DNS and type the full domain we made in the last section(Mine being pastel-vpn.ignorelist.com). Otherwise choose ip. You will want to enable unattended updates, and with that the installation is complete.
Conclusion
WireGuard has a wide verity of clients you can use: Android, IOS, Windows, Mac, FreeBSD, OpenBSD, and Linux. Which can all be gotten from here. The setup differs a little but but is relatively uncomplicated. You will run
pivpn -a
on the pi in order to generate a client, you can then manually transfer the file to the client for import, or run
pivpn -qr
to generate a qr code that can be scanned by the mobile clients.
This VPN tunnel is primarily useful as a way to remotely access your home network without exposing it to attackers. I recommend combining this with other self hosted services like my guide on RSSHub here. I hope that one way or another this was useful, and as always stay paranoid.